Adapted from Alexandra’s Kitchen (author: Alexandra Stafford) total time: 18 hours 45 minutes yield: 1 loaf
INGREDIENTS
50 – 100 g (1⁄4 – 1/2 cup) bubbly, active starter — I use 75 grams
375 g (1 1/2 cups plus 1 tbsp) warm water, or more
500 g (4 cups plus 2 tbsp) bread flour
*it’s best to use a kitchen scale to measure all ingredients
- Make the dough: Whisk the starter and water together in a large bowl and then add the flour. Mix to combine, using a dough scraper to form a rough dough. Cover with a damp towel
and let rest for 30 minutes. - Stretch and fold: After 30 minutes, grab a corner of the dough and pull it up and into the center. Repeat until you’ve performed this series of folds 4 to 5 times with the dough. Let dough rest for another 30 minutes and repeat the stretching and folding action. If you have the time: do this twice more for a total of 4 times in 2 hours. Note: Even if you can only perform one series of stretches and folds, your dough will benefit.
- Bulk Fermentation (first rise): Cover the bowl with a towel and let rise at room temperature, about 8 to 10 hours at 70°F (21°C) or even less if you live in a warm environment. The dough is ready when it has increased by 50% in volume, has a few bubbles on the surface, and jiggles when you move the bowl from side to side. A straight-sided bowl makes monitoring the bulk fermentation especially easy because it allows you to see when your dough has truly increased in volume by 50%.)
- Shape: Coax the dough onto a lightly floured surface. Gently shape it into a round: fold
the top down to the center, turn the dough, fold the top down to the center, turn the dough; repeat until you’ve come full circle. If you have a bench scraper, use it to push and pull the dough to create tension. - Rest: Let the dough rest seam side up rest for 30 minutes. Meanwhile, line an 8-inch (20-cm) bowl or
proofing basket with a towel (flour sack towels are ideal) and dust with flour (preferably rice flour, which doesn’t burn the way all-purpose flour does). Using a bench scraper or your hands, shape it again as described in step 4. Place the round into your lined bowl, seam side up. - Proof (second rise): Cover the dough and refrigerate for 1 hour or for as long as 48 hours. (I prefer to let this dough proof for at least 24 hours prior to baking. If you choose to proof the dough in
the fridge for an extended period of time, you may want to tuck it into a loosely tied bag plastic bag to ensure the dough does not dry out. - Place a Dutch oven in your oven, and preheat your oven to 550°F (290°C). Cut a piece of parchment to fit the size of your baking pot.
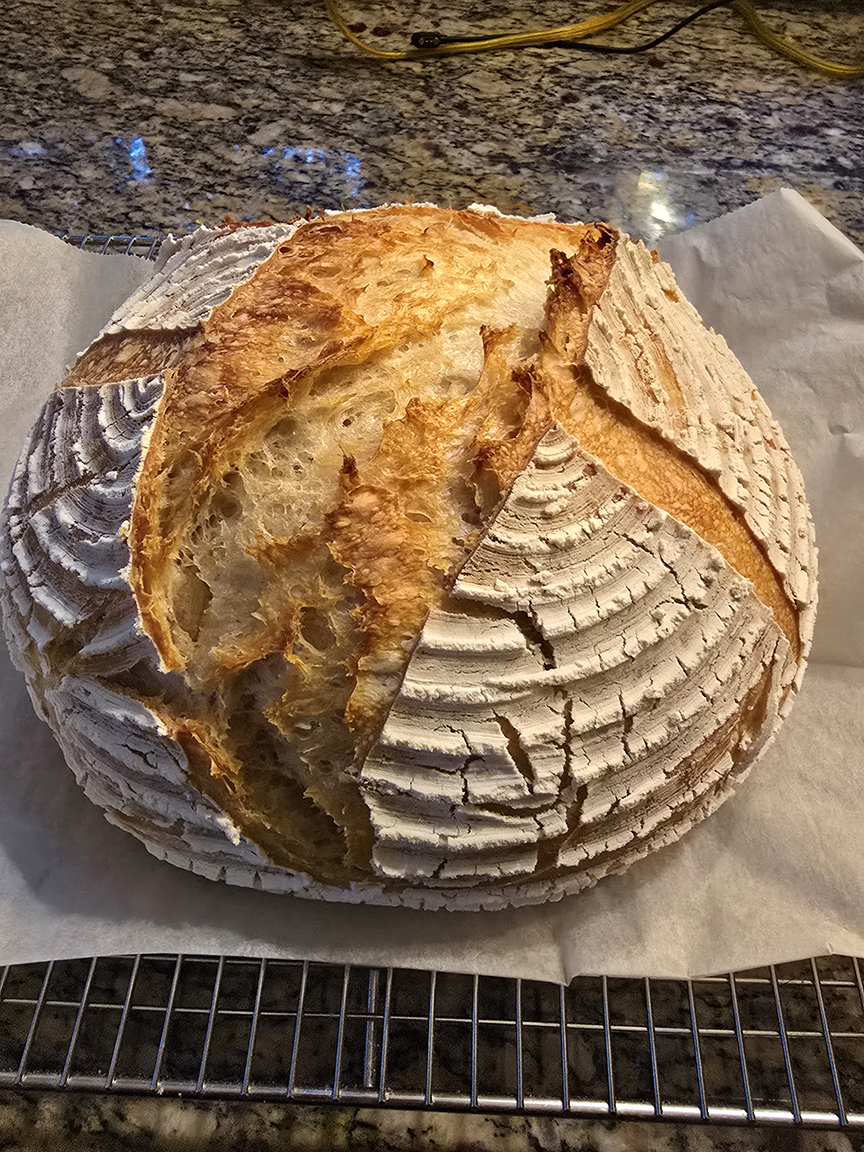
- Score: Place the parchment over the dough and invert the bowl to release. Using the tip of a small knife or a razor blade, score the dough however you wish — a simple “X” is nice. Use the parchment to carefully transfer the dough into the preheated baking pot.
- Bake: Lower the oven to 450oF (230oC). Carefully cover the pot. Bake the dough for 30 minutes, covered. Remove the lid, lower the temperature to 400oF (200oC) and continue to bake for 10 – 15 minutes more. If necessary, lift the loaf out of the pot, and bake directly on the oven rack for the last 5 to 10 minutes. Cool on a wire rack for 1 hour before slicing.
- This loaf will stay fresh up to 3 days stored at room temperature in an airtight plastic bag or container. It freezes beautifully, too.